Bronco Dash Accent Kit InstallUpdated 5 months ago
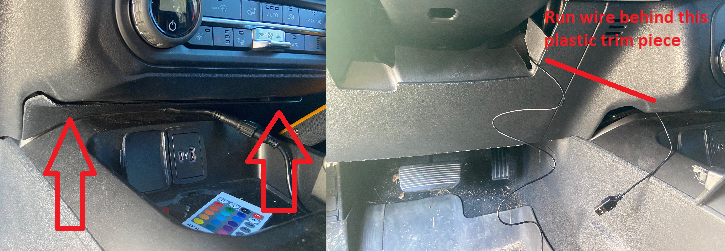
Step 1: Run the USB connector under the steering wheel towards the center or the vehicle.
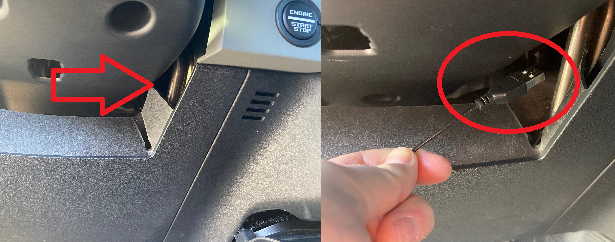
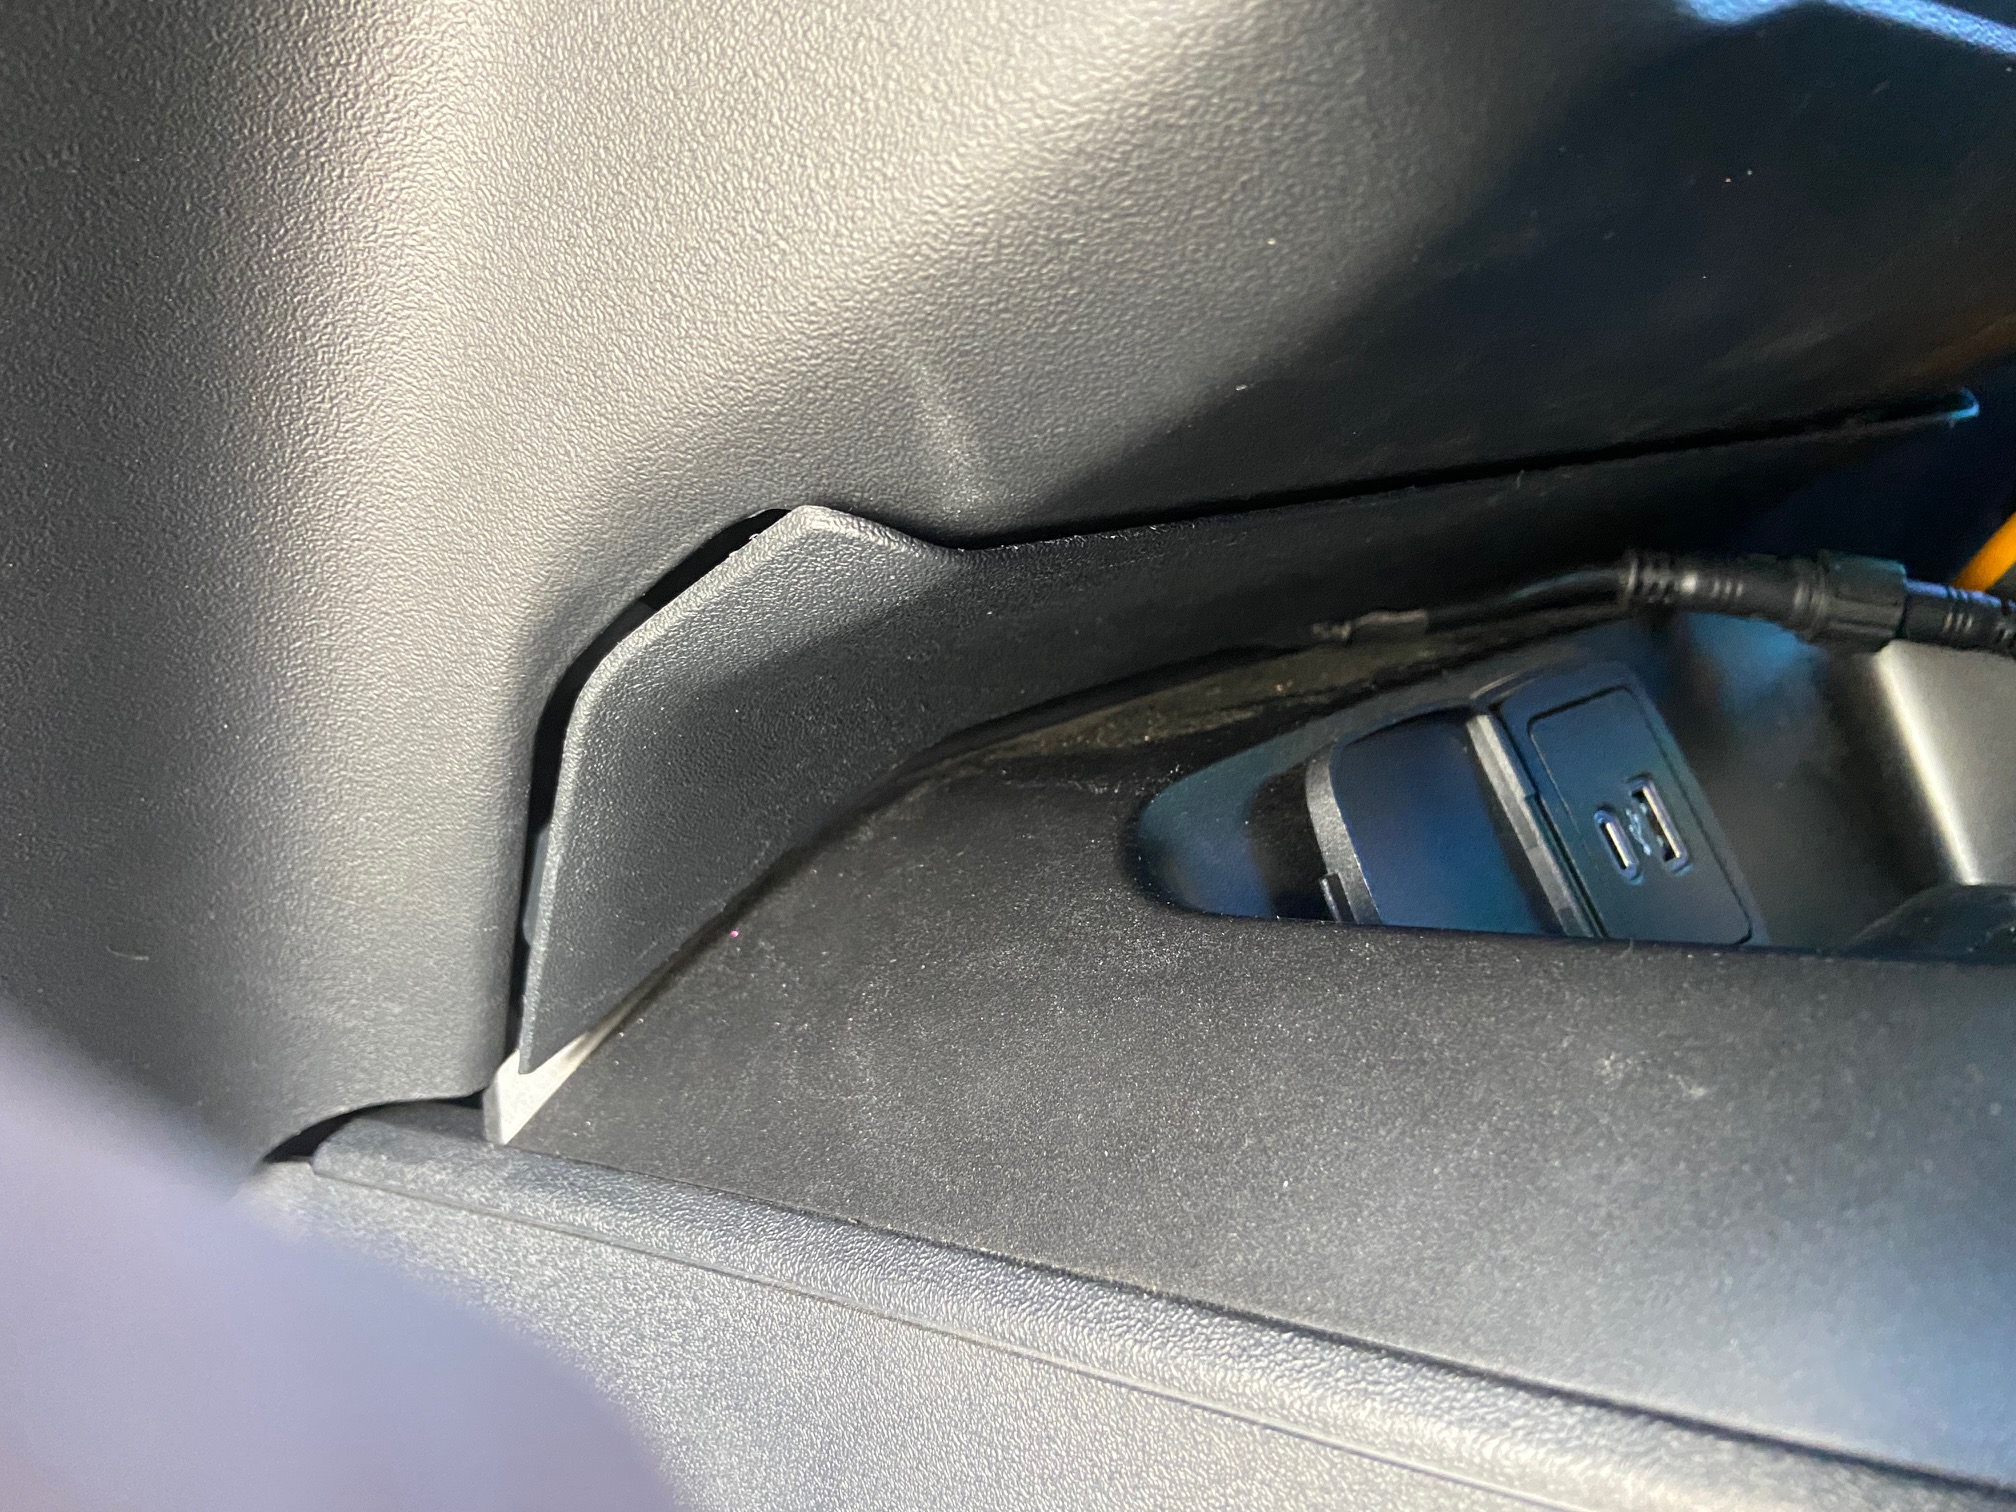
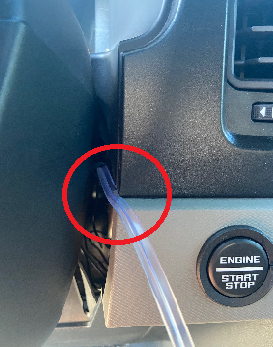
Step 2: Pull down on the plastic piece shown in the photo then route the USB connector from the steering wheel area to the now exposed area seen in the images below.
Step 3: Snap the trim piece back into place.
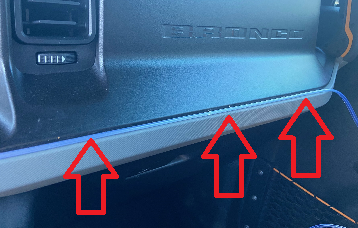
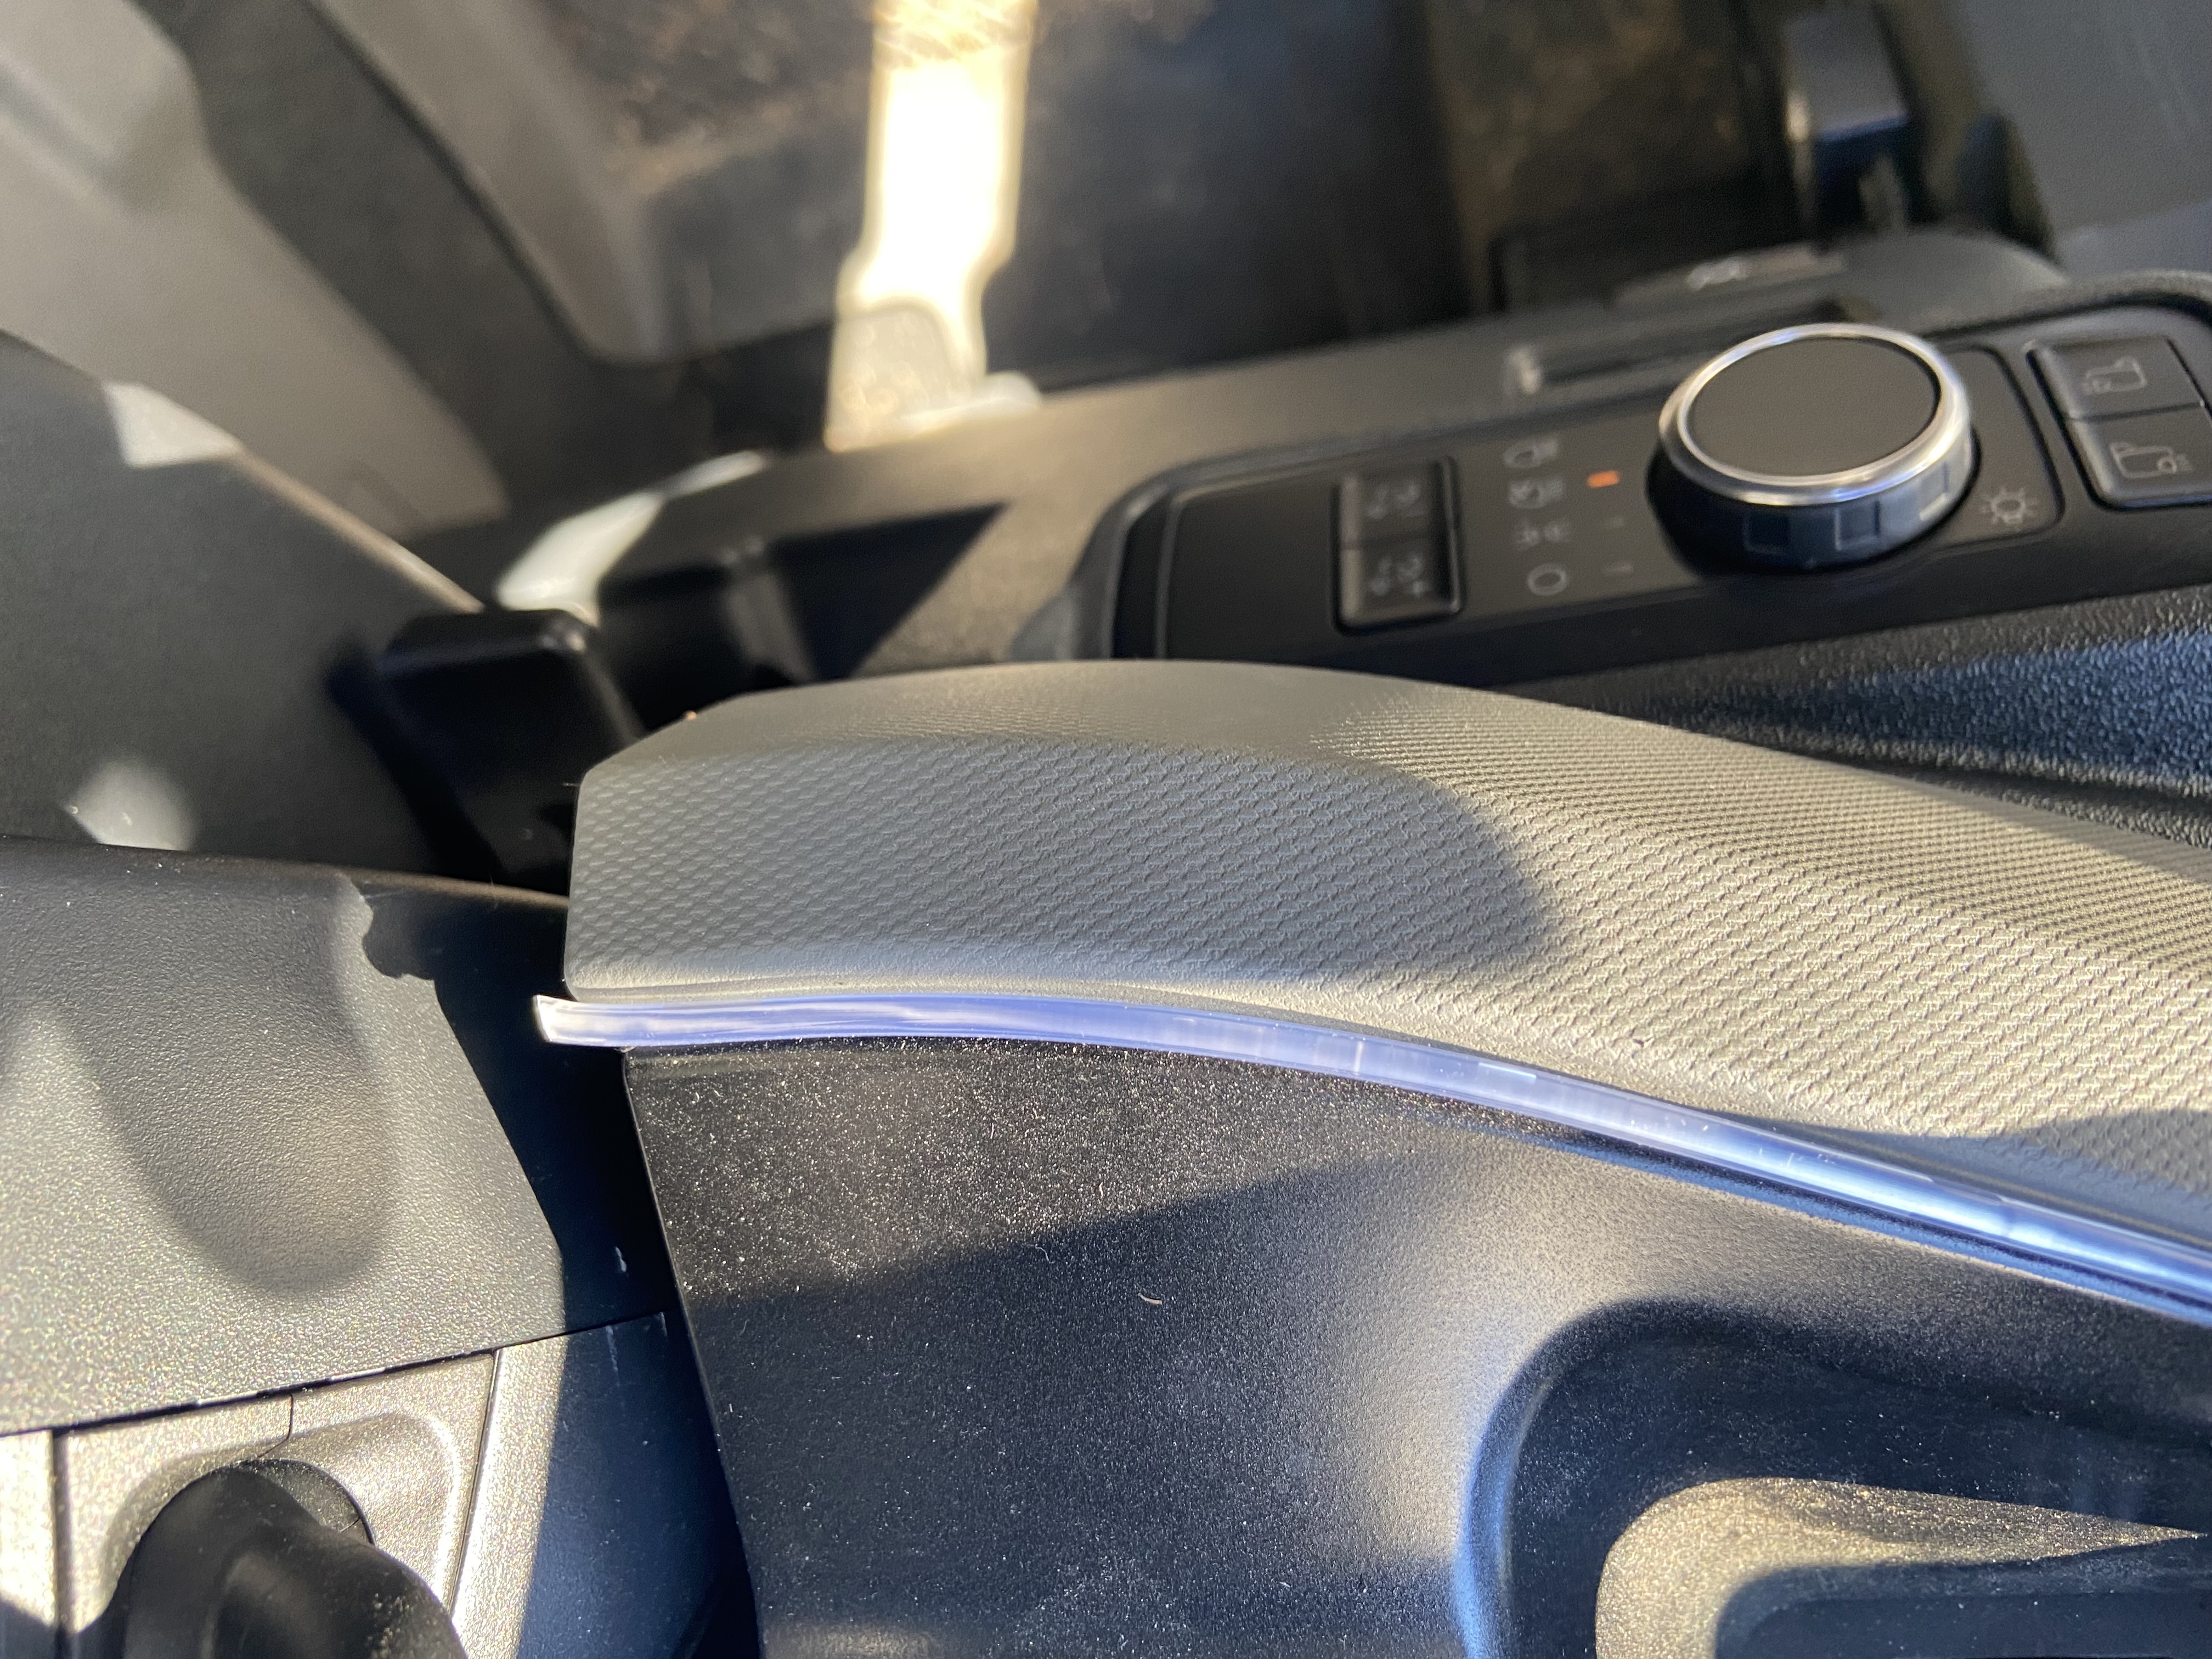
Step 4: Starting at the right of the steering wheel, start tucking the Dash Accent Light in between the two trim pieces. Be sure that you are tucking the small flat part of the light into the trim piece.
Step 5: Continue to tuck the flat part of the wiring into the trim moving across the vehicle.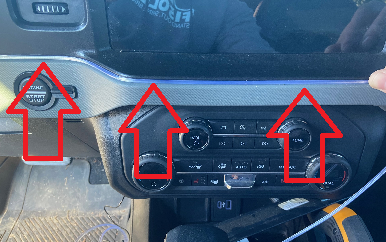
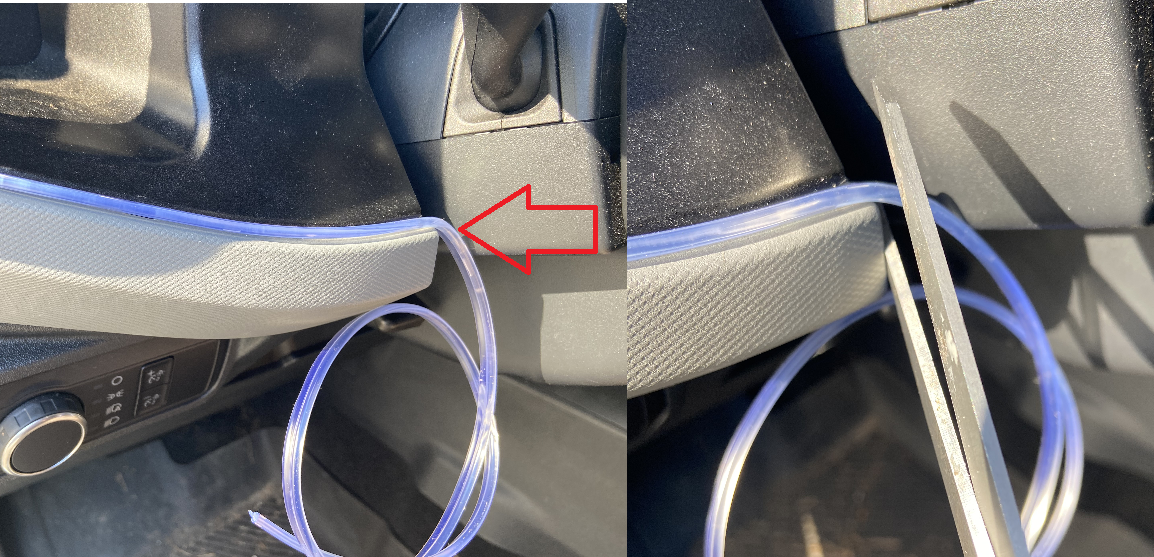
Step 6: Loosen the four T30 bolts holding this handle into place so that you can slightly pull the handle away from the truck and tuck the light in between the trim and handle.
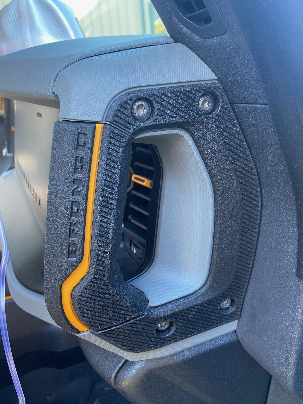

Step 7: Tighten the bolts back into place once the light is run properly.
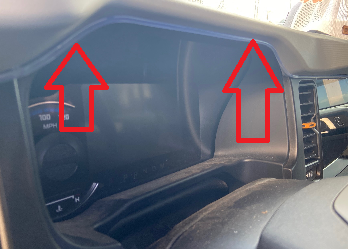
Step 8: Begin to tuck the light in between the to trim pieces on the top of the dash area.
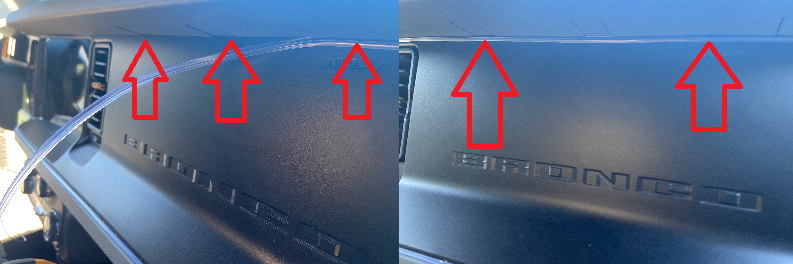
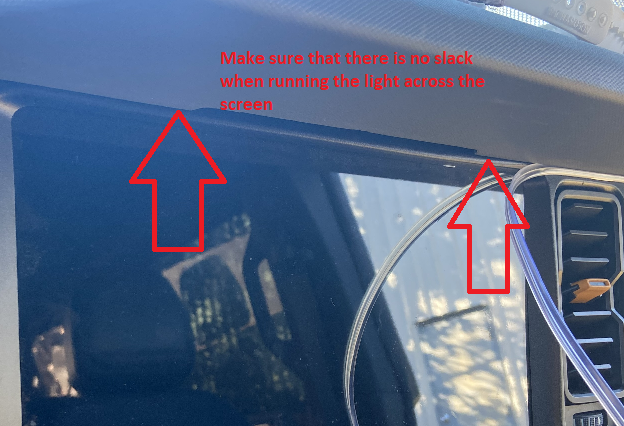
Step 9: When running the light across the screen, make sure there is no slack in the light as there is no place for the light to tuck at the top of the screen, however, if it is tight on both sides of the screen it will stay in place.
Step 10: Continue to tuck the wire in between the trim pieces across the top of the steering wheel.
Step 11: Repeat steps 6 and 7 on the driver's side of the vehicle.

Step 12: You can tuck the excess lighting under the steering wheel or you can take a pair of scissors and cut the light strip.
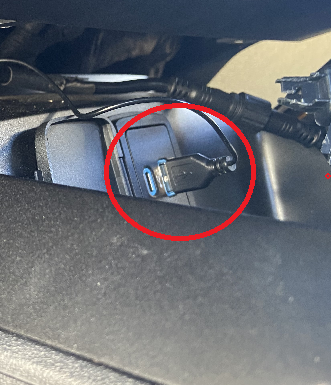
Step 13: Plug the USB connector into the USB port of the vehicle, before being able to use the many features on the remote, be sure to pull the small clear plastic piece from the bottom of the remote.